Showing posts with label tortillas. Show all posts

Tuesday, July 12, 2011

Hearty Burritos

I wasn't sure I was going to tell you guys about this one.  I made these a while back and they turned out fine, but not really spectacular.  One the major factors that caught my eye about this recipe though was that I could make, assemble, and FREEZE these burritos to bake up later on.  So since I'd made up a bunch of the filling, I went ahead and froze a few.

Wow, I think these taste better for having sat in my freezer for a couple months!  And sooooo handy too.  Let me tell you that when you're starving, the baby's screaming and refusing to be put down, it's super nice to be able to grab one of these to toss into the oven for a while.

Hearty Burritos
Recipe adapted from my mother-in-law's recipe collection

1 lb ground beef
1 medium onion, chopped
1 pkg (16oz) frozen cubed hash brown potatoes, thawed
1 can (15oz) black beans, rinsed and drained
1 can (14.5oz) Mexican diced tomatoes, undrained
1 cup frozen corn, thawed
1/2 cup salsa
1/2 cup cooked rice [Great use of leftover rice!!]
2 tsp chili powder
1/2 tsp salt
2 cups shredded Cheddar
8 flour tortillas, BIG ones

1.  In large skillet, cook beef, green pepper, and onion over medium heat until meat is no longer pink; drain. Add potatoes, beans, tomatoes, corn, salsa, rice, chili powder and salt. Stir to combine. 
Suggestion: stir in some chopped fresh cilantro just before wrapping

2.  Sprinkle 1/4 cup cheese off-center on each tortilla; top with about 1 cup beef mixture. Fold sides and ends over filling. 
Prepare to be wrapped!

3.  Wrap burritos individually in foil and freeze up to 3 months.* Or place burritos seam side down on a baking dish. 
I had 4 to bake, plus 4 to freeze.  Not bad!

4.  Bake at 350 for 25 minutes or until heated through. Serve with preferred condiments. 
Gooey, yummy deliciousness


*Now you really should thaw these overnight in the fridge and then bake as directed.  I'm terrible at the whole "thawing" thing though so if you're like me and grab one of these still frozen solid, let it sit out a while to take the frozen edge off.  Plan on baking it at least 40 minutes to fully heat through.  When you can smell it, it's probably ready to go.
Pin It

Monday, April 11, 2011

Layered Enchilada Bake

Ok, so most of the time when I post about a recipe, it's something that I'd made several days, or even a week prior but usually have leftovers lingering in the fridge.  This is not one of them.  Oh don't get me wrong, I made this less than a week ago, and I even made the full recipe instead of halving it as I normally do.  There is not one container of this left in my fridge.

Yes, it's that good.
Look at those layers.  What's not to love??

My mother-in-law introduced me to this recipe, and I have to say that I was initially skeptical.  Not because it was enchiladas or anything.  Are you kidding me?  I love Mexican food!!  But I noticed right away that there's Italian dressing in it.  Wha--?  Yeah, you read that right, Zesty Italian salad dressing.  In an enchilada recipe.  I'm not kidding.

Ok so this is the point where you just need to trust me on this one.  I am a huge fan of everyone tweaking and altering recipes to suit their own tastes.  However I will say that you neeeeeeeeeeeeeeed to keep the salad dressing in this one.  Believe me, you'll notice the lack of spark in this dish if you do.

Layered Enchilada Bake
Recipe from Jan Swafford, who got it from Kraft Foods

1 lb lean ground beef
1 large onion, chopped
2 cups salsa
1 can  (15 oz.) black beans, rinsed
1/4 cup Zesty Italian dressing
2 tbsp taco seasoning mix
6 flour tortillas (8 inch)
1 cup sour cream*
1 pkg. (8 oz.) shredded cheddar OR a Mexican blend

*Did you know that plain yogurt has a very similar tang to that of sour cream?  Also, plain Greek yogurt has that same tangy-ness as well as the consistency of sour cream. Mm hm.  All I'm saying is that if you wanted to make this a tad healthier, or if you didn't quite have enough sour cream and needed to supplement it with something else, that you have options.  And this is merely a suggestion; I am not admitting to anything as to how I may have previously prepared this dish so Rob you can quit looking at me like that. ;)

1.  Preheat oven to 400.

2.  Brown meat with onion in a large skillet over medium-high heat; drain.
Start with the basics: ground beef, onion.
 3.  Stir in salsa, black beans, dressing, and taco seasoning.
Save your packets! Instead buy the mix in bulk for recipes like this
4.  Using a 9x13 pan, arrange 3 tortillas so that most of the bottom of the pan is covered.  The cover tortillas with layers of half each meat mixture, sour cream, and cheese.  Repeat layers; cover with tin foil.
My secret to even sour cream distribution

5.  Bake, covered, for 30 minutes.  Then uncover and bake for an additional 10 minutes (total 40 minutes baking time).  Let stand 5 minutes before serving.
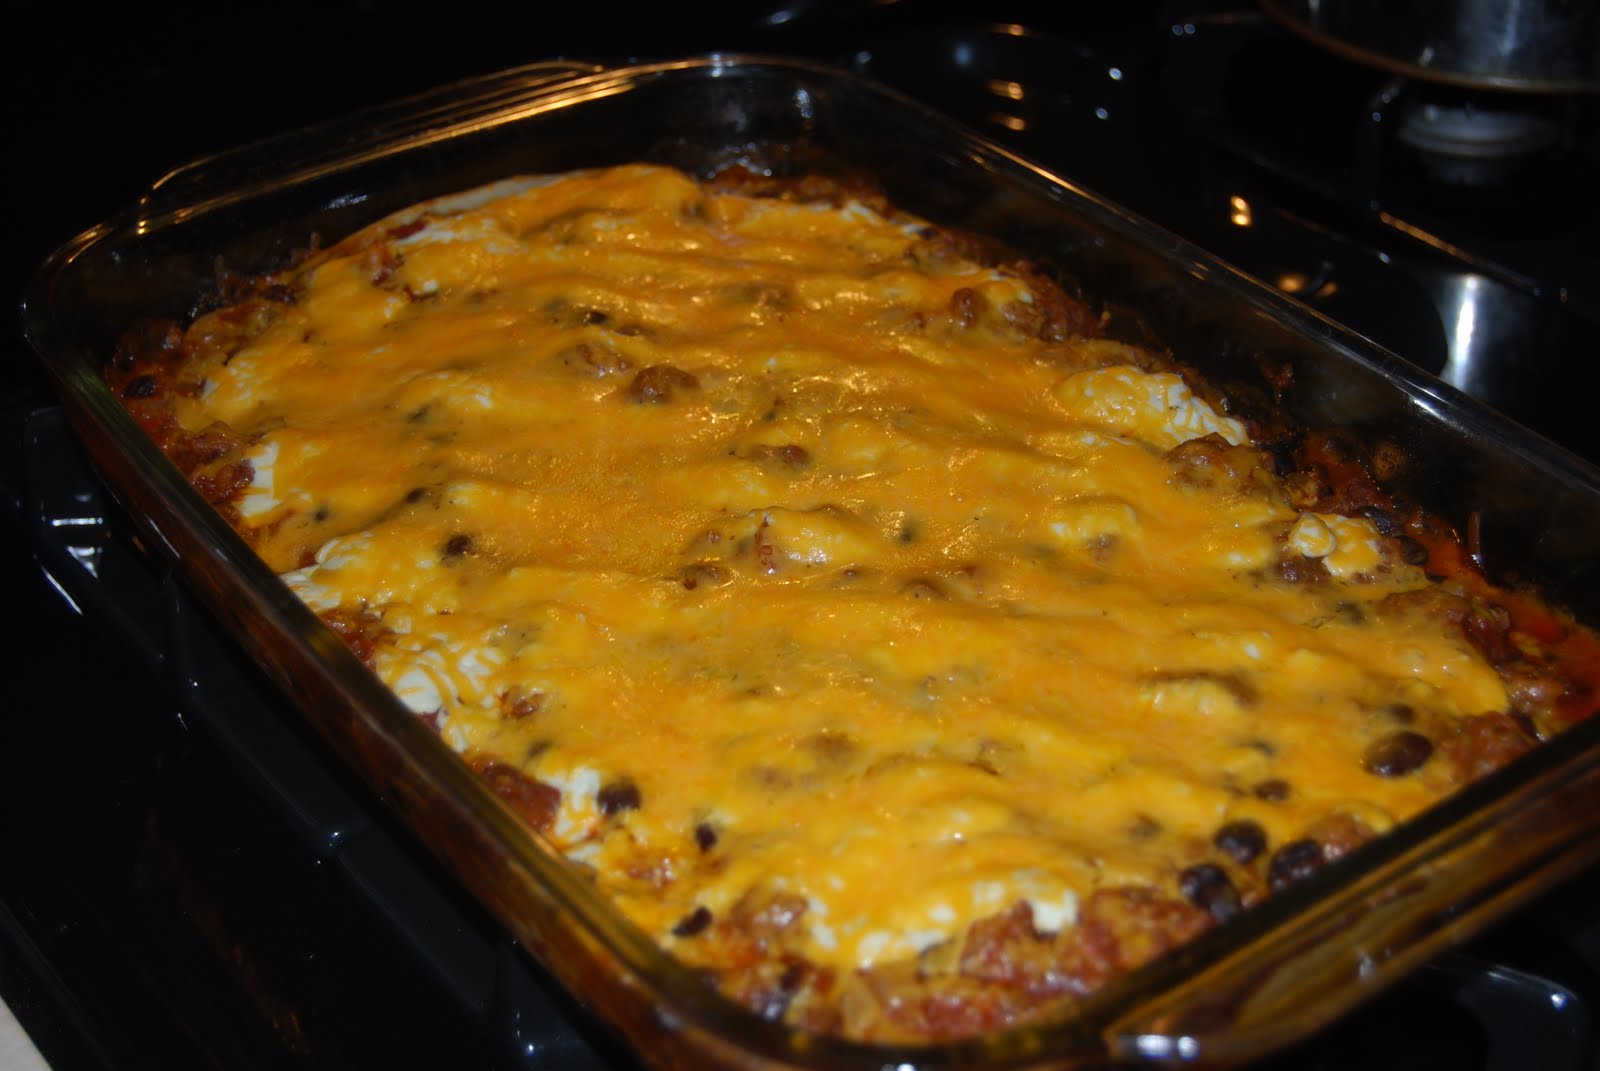
Melty, cheesy goodness
I like this recipe, not only for it's zippy taste, but also for the freezing options!  Oh you knew this topic was coming up right?  You actually a couple of freezing choices if you wanted to make this ahead of time:

OPTION 1:  My mother-in-law will put together the meat mixture and freeze that in small containers.  Then when she plans on having this for dinner she thaws the amount of meat she needs, assembles the casserole, and life is good.  This is a great way to prevent potentially soggy tortillas.

OPTION 2: Assembly is usually my time-consuming issue though so I will follow the recipe up through step 4.  Then wrap it extra well and freeze the entire thing.  Then I will just thaw the casserole and bake as directed.  I haven't noticed a soggy tortilla issue but then I haven't been looking for it.

Enjoy!!
Pin It

Friday, February 25, 2011

Get Ahead: Chicken-Mushroom Quesadillas

I'm going to challenge you this weekend.  Yup, I said it.  I challenge you to pick out a recipe you really enjoy but never make because it's pretty involved and make it this weekend.  Eat it right away if you like but freeze a portion of it for another night.  You can do this.  You can totally do this!  And after you make it, let me know what you made so then I can turn the tables and ask for your recipes. ;)  Oh, and you get bonus points if you double your recipe.

Now, what am I up to this time...ah yes, something involving cheese!

Who doesn't love quesadillas?  Melted cheese in between two crispy tortillas, topped with creamy sour cream, spicy salsa, or maybe some cool guacamole.  I also happen to love how EASY quesadillas are to make.  Have them as an appetizer for a party or for a quick weeknight dinner, these things are awesome!

I never really thought much about what you could do with a quesadilla until my mom introduced me to this recipe a few years ago.  Obviously I must have liked it but what I really remember was my son inhaling these!  I decided then and there to make this on my own, with some tweaks according to my family's tastes.

Chicken-Mushroom Quesadillas
Recipe adapted from So Easy


1 tbsp canola oil
1 large onion, chopped
1 container cremini mushrooms
3 cloves garlic, minced
2 cups cooked chicken, either diced or shredded
1 tsp cumin
1 tsp oregano
1 tsp chili powder
2 cups baby spinach
1/2 tsp salt
1/4 tsp pepper
Tortillas
Shredded cheddar cheese
Preferred toppings

1.  Use a damp cloth to gently wipe off any dirt on the mushrooms [Note: do NOT run mushrooms under running water!  Mushrooms are little flavor sponges; rinsing them under water means they will soak up the flavor of...well, water].  Break mushrooms apart a little and toss into food processor.  Process until they almost have a paste consistency and look similar to ground beef.

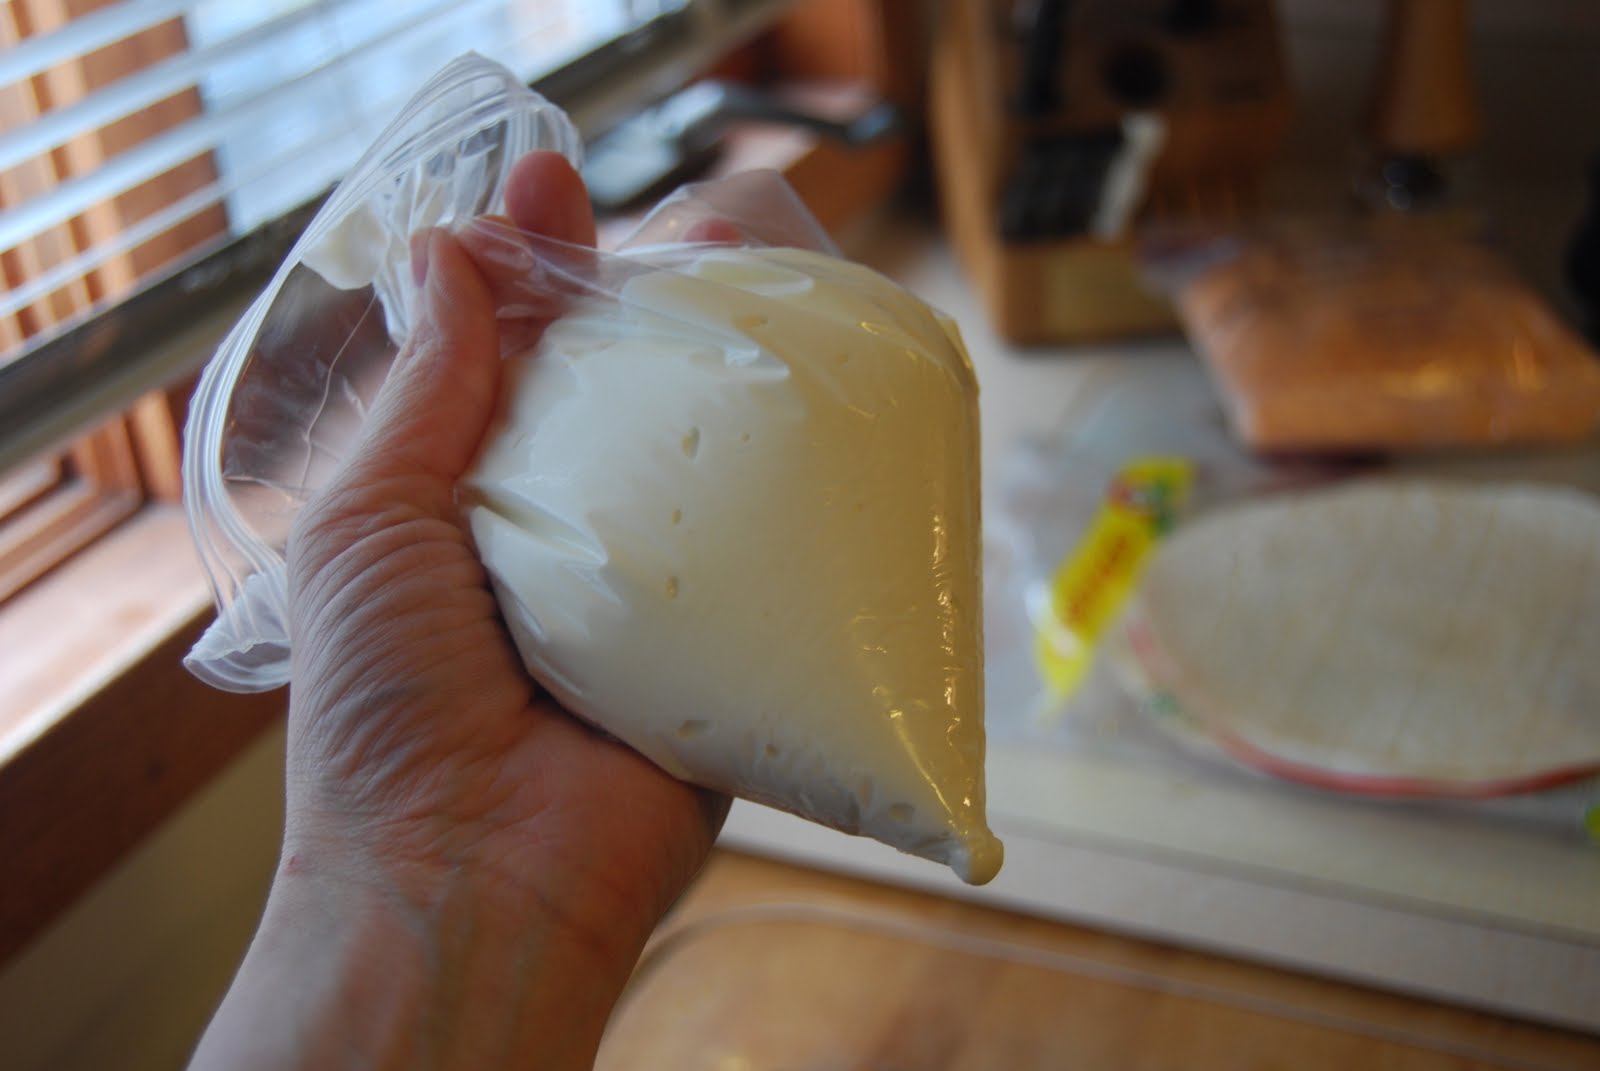
Does this look like ground beef to anyone else?

2. Heat canola oil in a large skillet over medium heat.  Add onions and mushrooms and cook until mushroom water has evaporated and mixture is beginning to brown (about 5-7 minutes).


3.  Add garlic and cook for another minute.  Toss in cooked chicken and seasonings and stir to combine.  Add spinach, salt, and pepper and toss just until spinach has wilted a little.

LOVE that bright green color!!
Ok so at this point you have some options.  You can continue on to step 4 and make up the quesadillas right away, OR you can cool the mixture and store it in freezer bags for later use.  If you opt for the latter, let the mixture thaw before picking up again at step 4.

4. Heat a griddle over medium to medium-low heat.  Take a tortilla and sprinkle a little shredded cheddar on one half.  Top with a couple tablespoons of chicken mixture and sprinkle a little more cheese on top [Note: a little goes a long way].  Fold the tortilla over.  Toast the quesadilla on both sides until cheese is melted.  Top with favorite toppings and enjoy!
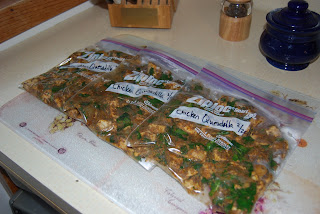
One recipe equates to THREE dinners for us, plus leftovers if we're not too starving that night.
You probably picked up on the fact that this doesn't take much time to put together.  So why do I think of this as a "get ahead" recipe?  Because it makes a TON!  You really don't need much filling for each quesadilla so one recipe could feed quite the crowd.  I will typically make a batch of this, split it into thirds and freeze it in quart freezer bags until I'm ready to make them.  Not only is this super easy to make, but HEALTHY too!  And with such lovely seasonings, you won't notice that you're eating mushrooms and spinach too. ;)
Pin It

Thursday, February 24, 2011

Peanut Butter Banana Wraps

I don't know about you but I am in a hurry most mornings.  I don't ever have time to actually eat breakfast at home; I'm usually eating in the car or as soon as I make it to the office (if I can hold out that long).  And when it comes to breakfast, I really like to have some protein so I can make it as close to lunchtime as possible without snacking.  So my breakfasts typically consist of some kind of oatmeal concoction, hard-boiled eggs, yogurt with granola, etc.

I found this wrap recipe though and thought "what a perfect breakfast (or snack) to eat on the go!"  And it's also great to make a couple of these at a time, toss one in the fridge for another day that's even more hectic than usual.

Peanut Butter Banana Wraps
Recipe adapted from So Easy

2 tortillas
4 tbsp peanut butter
1 large banana, sliced
10 dried figs, sliced
Cinnamon

1. Lay the tortillas on the counter and spread a couple tablespoons of peanut butter on each.  Top with half a banana and five figs per tortilla.  Sprinkle with a little cinnamon.

2. Carefully roll up each tortilla and wrap in plastic wrap.

Feel free to use whatever dried or fresh fruit you like.  I happen to have a thing for dried figs (I feel like I'm eating Fig Newtons...YUM!) but if you like cranberries, raisins, apricots, pineapple, whatever, go ahead and use those instead.  Not a fan of bananas?  No problem!  Try a different fresh fruit instead.  That's what I like about these kinds of recipes.  They're really not so much recipes as concepts: understand the concept and the flavor combination sky is the limit.  So try it out and let me know what you think. :)
Pin It