Showing posts with label buttermilk. Show all posts

Tuesday, October 9, 2012

Six Week Muffins

Ok so I really thought that everyone grew up with these muffins.  But maybe I'm crazy because everyone I've mentioned these to has given me That Crazy Look and asked "um, what are six week muffins?"


They're wonderful, handy to have around, and DANG TASTY is what they are!

Six Week Muffins
Recipe slightly adapted from my mom
Prep time: 15 minutes   Cook time: 20 minutes

1 (15.5oz) box Raisin Bran cereal
5 cups flour
1/2 box raisins
2 cups sugar
5 tsp baking soda
2 tsp salt
1 quart buttermilk
4 eggs, beaten
1/2 cup canola oil
1/2 cup unsweetened applesauce

1.  In the largest bowl you have (or use a big stock pot, that works too), mix the Raisin Bran, flour raisins, sugar, salt, and baking soda.
There's a LOT in the bowl; mix carefully.


2.  In a separate bowl combine the buttermilk, eggs, oil, and applesauce.
Basic wet ingredients


3.  Carefully pour the buttermilk mixture into the cereal mixture and mix well.
REALLY mix carefully; the bowl is almost overflowing!


4.  ENJOY NOW: Preheat oven to 400.  Grease a 12-cup muffin tin and fill with the batter.  Bake for 15-20 minutes.
Just snip the corner and pipe the batter into the muffin tin.


5.  ENJOY LATER: If your family goes through muffins like crazy, keep the batter in a container in the fridge for up to six weeks.  Scoop out enough batter to bake as many, or as few as you'd like to eat.  OR if your family goes in spurts with eating muffins, store the batter in the freezer.  I like to put mine into 1-quart bags, which holds about 12 muffins worth of batter.
A hot, fresh muffin with butter is HEAVEN


If you haven't figured it out from the directions above, the "Six Weeks" part of the name is how long the batter will last in your fridge.  And if it can last six weeks in the fridge, imagine how long it'll keep in your freezer!  I don't know exactly because honestly I end up baking these up fairly quickly.

These are soooo handy to have around!  If you're constantly on the go, what's easier than grabbing some muffins as you dash out the door?  If you, or your loved ones, crave hot meals in the morning, what's easier than scooping out some batter and baking it while you hop through the shower?  And if time is never on your side, what could be easier than whipping up a giant bowl of muffin batter and portioning it out as needed?  Instead of always mixing up a 12-muffin mix, this has you set up for quite a while!
Pin It

Wednesday, August 15, 2012

Whole Wheat Chocolate Peanut Butter Swirl Doughnuts

I have a confession to make.  I am a recovering Nutella addict.

I'm sure the fact that I've had a love affair with the popular chocolatey hazelnut spread comes as no surprise.  But that I'm trying to recover from it may leave some of you wondering why on earth I'd actively try to give up something so decadently delicious.

Two words: hydrogenated oils.

Let's be clear here, I'm NOT a nutritionist.  What I am is an ordinary Family Cook who's trying to make some simple diet changes to better my and my family's health.  But when I made the decision to cut out hydrogenate oils, little did I know that my favorite spread would be leaving my life as well.

*sniffle*


But..... I've found a replacement.  I can't believe I'm going to say this, but I like my new chocolate peanut butter spread BETTER than it's hazelnut counterpart! 

Now I can play around with amazing recipes like this one without missing a single thing, except those unhealthy fats. ;)

Whole Wheat Chocolate Peanut Butter Swirl Doughnuts
Recipe adapted from Gingerbread Bagels
Prep time: 10 minutes   Bake time: 9 minutes


1 cup cake flour
1 cup whole wheat flour
3/4 cup sugar
2 tsp baking powder
1 tsp salt
3/4 cup buttermilk [NOTE: Or plain yogurt. Or milk with a little lemon juice. Or 3 tbsp powdered buttermilk with 3/4 cup water]
2 large eggs, lightly beaten
2 tbsp butter, melted [NOTE: You could also use 1 tbsp butter and 1 tbsp unsweetened applesauce]
1 tsp vanilla extract
6 tbsp chocolate peanut butter spread, divided

1.  Preheat the oven to 425 degrees F.

2.  Sift the flours, sugar, baking powder and salt into a large bowl. Mix it up.
The usual Dry Ingredient Suspects


3.  Add in the buttermilk, eggs, melted butter and vanilla extract. Gently mix and fold everything together. Be careful to not over mix the batter.
Flour lumps never hurt anyone. Dense doughnuts from overmixing can though.


4.  Put the batter into a large resealable plastic bag and snip off the corner. Pipe the batter into a lightly greased doughnut pan.  Could you spoon or pour the batter into the pan to save the plastic bag? Sure, but be prepared for an UBER mess.  Piping is easier, faster, and cleaner. Trust me. ;)


5.  Put 1/2 tbsp [NOTE: don't have a 1/2 tablespoon? It's the same as 1 1/2 teaspoons] of chocolate peanut butter spread on each top of each doughnut. Using a knife, toothpick, or wooden skewer, swirl the spread around in the batter.
This brand also has many other PB spread flavors. I want to try them all!!

Use the knife to put little globs around the circle.


Gently coax the PB to loosen up and swirl around.


6.  Bake the doughnuts for 9 minutes.  Remove the doughnuts from the pan to cool and enjoy!
*DROOL*

Though I tried to inject as many healthful alternatives into these as I could, trust me, they taste ANYTHING but healthy.  They are sweet, cakey, chocolatey, peanut buttery, puffed golden disks of pure heaven.

And in the 20 minutes since I've pulled them out of the oven, Gavin has told me no less than 23 times how much he's looking forward to snack time and he CAN'T WAIT to have a doughnut.  Because they are as good-for-you as I can make them, I'm more than happy to let my son snack on them!

p.s. Subject change! If you're keeping track of the new dinners I try out each week, I want to let you know that the Tandoori Shrimp turned out fine the other night.  But I'm sure I can make it better. ;)  So I'm holding back on that one until I can try it again.  Thanks for your patience!!
Pin It

Tuesday, May 8, 2012

Unfried Chicken

You lose some, and then you turn around and win some.  Big time. 

I was feeling a little discouraged after my disastrous mac & cheese on Sunday.  But at least this recipe, though still an experiment, was not something completely new to me.  I'd made it before and already had some ideas on how to make it better.


Boy did those ideas work!!

Unfried Chicken
Recipe adapted from Bobby Deen

1 tbsp canola oil
1 lb boneless, skinless chicken thighs
1/2 cup low-fat buttermilk
1/2 tsp garlic powder
1/2 tsp onion powder
1 tsp hot sauce
Zest of one lemon
2 cups cornflakes
Salt and freshly ground black pepper

1.  THE NIGHT BEFORE: Combine the buttermilk, garlic powder, onion powder, hot sauce, and lemon zest in a resealable plastic bag.  Add chicken and smush around to make sure everything is coated.  Refrigerate overnight. 
Buttermilk does AMAZING things to chicken.

2.  Preheat the oven to 375 degrees F. Heat oil in a large skillet (cast iron would be awesome if you have it) over medium-high heat.
Work out some frustration on the cereal.


3.  Crush cornflakes in a resealable plastic bag using your hands, a rolling pin, or kitchen mallet.  Pour the cornflake crumbs into a large bowl. Dip the chicken into the crumbs, pressing to adhere, and then place in the skillet. Brown chicken on both sides and move the skillet to the oven. Bake until the chicken is golden brown and cooked through or an instant-read thermometer inserted into the thickest part of the thigh registers 165 degrees F, 30-40 minutes.
Crunchy good chicken!

Not only does the buttermilk tenderize the chicken, but the other flavors in the marinade work sooo well together!  You can serve this with some cornbread and a tossed salad, mashed potatoes and steamed veggies, a good fruit salad... whatever you like!
Pin It

Monday, April 30, 2012

Crispy Chicken & Scallion Waffle Sandwiches

Sickness has invaded my house.  It started late last week, and even now I'm anxiously waiting for my doctor's office phone line to open so I can make appointments.  I say this to let you know that I haven't forgotten about this recipe; not only have I been super distracted and under the weather, but I also needed more time to break this recipe down.  There's a LOT to this.

Yeah, when you're tired, hungry, and the kids are whining, it's a little overwhelming to bread chicken, wash goop off hands, pour batter into the waffle iron, keep an eye on frying chicken, try to not burn the waffles, while salting the freshly cooked chicken as soon as I pull it out.  I tried to make everything at once, hoping to speed up the process and get dinner on the table sooner.  Lesson learned.


BUT, don't freak out on me.  I want you to try this.  I'll give you some tips and tricks to make sure this is an easy meal to pull together, even after a long, hectic day.


Crispy Chicken & Scallion Waffle Sandwiches
Recipe adapted from Jeff Mauro

For the chicken:
2/3 cup buttermilk
1 1/2 tsp hot sauce
1 1/2 tsp kosher salt
1/2 tsp granulated garlic
1/2 tsp granulated onion
1 lb boneless chicken tenders
Vegetable oil, for frying
1 cup unbleached all-purpose flour
1 heaping tsp paprika
Salt and freshly cracked black pepper
2 cups panko breadcrumbs
2 tbsp ancho chile powder
3 large eggs

For the waffles:
2 tbsp vegetable oil
3/4 tsp vanilla extract
2 large eggs
1 1/4 cups buttermilk
1/2 cup seltzer
2 cups unbleached all-purpose flour
2 tbsp sugar
1/2 tsp table salt
1/2 tsp baking soda
1/4 to 1/2 cup chopped scallions

1.  For the chicken: In a small bowl, mix together the buttermilk, hot sauce, kosher salt, granulated garlic and granulated onion. Place the chicken into a re-sealable bag and pour the buttermilk marinade over the chicken. Marinate for at least 2 hours, or overnight, in the fridge. [Note: I strongly recommend overnight]
Simple, flavorful marinade

2.  Preheat the oven to 200 degrees F and have 2 baking sheets with wire racks set inside. Preheat a waffle maker according to the manufacturer's instructions. In a large cast-iron skillet, bring about an inch of oil to 350 degrees F, give or take.  FYI, I did not keep track of the temperature.  I had the burner on about medium to medium-high heat.

3.  In a baking dish, add the flour and season it with the paprika and some salt and pepper. In another baking dish, add the panko and season it with the ancho chile powder and some salt and pepper. In another dish, beat the eggs.  [Note: the trick to seasoning a breading line-up is make sure you can SEE the seasoning.  As Jeff mentions on his show, "if you can't see it, you can't taste it."]
I have a 1/2 sharp, 1/2 sweet paprika.  Love it!!

Not all chile powders are spicy!  This one is very smokey and deep in flavor.

4.  Remove the chicken from the marinade, allowing the excess buttermilk to drip off. Then dredge the chicken first in the flour, then in the eggs and finally coat the chicken in the panko.

5.  Fry the chicken in batches, being careful not to overcrowd the pan, until each side of the chicken is golden brown and the interior reads 160 degrees F on an instant-read thermometer, 3 to 4 minutes per side. Remove the fried chicken to one of the prepared baking sheets and place into the warm oven to stay warm and crispy while you make the waffles.
Always, always, ALWAYS season as soon as it comes out of the fryer.


6.  For the waffles: Whisk the oil, vanilla and eggs in a medium bowl until combined. Add the buttermilk and seltzer.
Fairly basic waffle ingredients


7.  In another bowl, whisk the flour, sugar, table salt and baking soda to combine. Add the dry ingredients to the wet ingredients and whisk until smooth. Stir in the scallions.
I was conservative with my onions for Gavin. But add more if you like!


8.  Spray the waffle maker with some nonstick cooking spray. Pour the batter in the waffle iron and cook until golden. Set aside in a warm oven on the other prepared baking sheet until ready to serve.

Ok so first, I just want to say that These. Are. WONDERFUL.  Even my occasionally picky Gavin, whom I was sure was going to ask to eat his waffles separate from the chicken, ate a fully assembled sandwich.  Rob said at least twice that I could, at the very least, make the chicken again.  Gavin swiped two more waffles from the platter as I tried to clear the table.  I love dinners like this!!

But before you run off to the kitchen to check your fridge and pantry, I want to let you in on some things I learned from making this.  If you haven't figured it out already, there is a LOT to keep track of here!


Get Ahead/Make Your Life Easier Tips:
  • Follow the instructions exactly and focus on the chicken, then the waffles, keeping the finished food warm in the oven.  
  • Make the waffles ahead of time.  Pull them out of the waffle iron when they're just shy of that glorious brown and let cool.  Then crisp/brown/heat them up in the toaster later while the chicken is frying.
  • Bread the chicken ahead of time.  You could either freeze the breaded, uncooked chicken to make WAY later or just refrigerate until you're ready to fry them up.  
  • Do the waffles and bread the chicken and REALLY be on the ball for a fantastic post-long-day meal!
Pin It

Wednesday, March 7, 2012

Pecan Chicken

What is it about tender, juicy, succulent chicken encased in a crunchy coating?  Is it magic??


Whatever it is, it's damn good!!

Pecan Chicken
Recipe from Claire Robinson, with a little influence from Rachael Ray

4 boneless, skinless chicken breasts
1 cup buttermilk
1 cup pecans
1/2 cup panko breadcrumbs
1/2 tsp nutmeg
Zest of 1 orange
1/3 cup canola oil
Salt and freshly ground black pepper

1.  Place each chicken breast between 2 pieces of plastic wrap and gently flatten with a meat mallet or heavy flat object to an even 1/3-inch thick.  Place the flattened chicken in a shallow bowl and add the buttermilk. Cover and marinate for at least 1 hour in the refrigerator.
No FP? Grocery stores carry ground nuts in the baking aisles.


2.  In a food processor, pulse pecans until finely ground (big chunks of pecans make for difficult coating; trust me). Transfer the pecans to a large rimmed dish and add the panko bread crumbs, nutmeg and orange zest. Mix to combine well.
No orange zest this time.  It's fine without but it's SO FREAKING AWESOME with.


3.  Remove marinated chicken breasts from buttermilk and shake off excess. Dip chicken in breading mixture, evenly coating both sides.
No need for flour or eggs in this breading lineup!


4.  In a large nonstick skillet, heat oil. Add breaded breasts and shallow fry about 4 to 5 minutes on each side until golden in color. Remove from oil to and drain on paper towels. Immediately season with salt and pepper.
I'd rather shallow fry than deep fry any day.

I absolutely love this with a tossed salad and some kind of starch: fresh bread, some kind of potato, rice, doesn't really matter.  The chicken is truly the star here!
Pin It

Thursday, September 15, 2011

Cheddar Buttermilk Biscuits

A while back, I had some of my cooking shows on and I was kinda just tuning in an out while doing other things.  You know what I mean, right?  I know I can't be the only one who does this.  I like the background noise and it's nice that when I tune in, I could learn something tasty.

I was lucky when I tuned into this recipe.  AND I realized at the time that I had all the ingredients just waiting to be used for this. BONUS!
Won't win a Biscuit Beauty Pageant but who cares.  They're TASTY!


Cheddar Buttermilk Biscuits
Recipe from Ina Garten

2 cups all-purpose flour, plus more as needed
1 tbsp baking powder
1 1/2 tsp salt
12 tablespoons (1 1/2 sticks) COLD unsalted butter, diced
1/2 cup cold buttermilk
1 cold large egg
1 cup grated extra-sharp Cheddar, plus more for topping (optional)
1 egg, beaten with 1 tablespoon water or milk

1.  Preheat the oven to 425 degrees.

2.  Place 2 cups of flour, the baking powder, and salt in the bowl of an electric mixer fitted with the paddle attachment OR use a regular bowl.  With the mixer on low, or using a dough cutter, add the butter and mix until the butter is the size of peas.
Butter lumps


3.  Combine the buttermilk and egg in a small measuring cup and beat lightly with a fork. With the mixer still on low, quickly add the buttermilk mixture to the flour mixture and mix only until moistened. In a small bowl, mix the 1 cup of Cheddar with small handful of flour and, with the mixer still on low, add the cheese to the dough. Mix only until roughly combined.
Don't be afraid...the dough will come together.


4.  Dump out onto a well-floured board and knead lightly. Roll the dough out to a rectangle 10 by 5 inches. With a sharp, floured knife, cut the dough into 8 rough rectangles. Transfer to a sheet pan lined with parchment paper. Brush the tops with the egg wash, sprinkle extra cheese, if desired, and bake for 20 to 25 minutes, until the tops are browned and the biscuits are cooked through. Serve hot or warm.
Those chunks of butter make these flaky and wonderful.


I normally pair these with dinner (soup, roasted chicken...), but yes, these are also really great made into breakfast sandwiches with an egg and a little bacon. ;)
Pin It

Friday, February 18, 2011

Buttermilk Pancakes with Berry Pomegranate Syrup

When I was a little girl, I remember waking up ungodly early on Saturday mornings and running to the family room to start the traditional Cartoon Marathon.  An hour or so later my mom would enter the kitchen and start the coffee.  Eventually, my brother and I would get the much-anticipated question of the day: what would you like for breakfast?

The answer was always multiple choice.  We could have pancakes (Mom's favorite), waffles (my favorite), or french toast (oh man, does anyone not like bread soaked in custard and then fried??).  Most of the time it was pancakes but no matter which option won, Saturday morning breakfasts at our house ROCKED!


So it kind of goes without saying that in my own house now, we love Love pancakes.   And since having my son, I've really been trying to duplicate that same Saturday morning experience that I had for him.  He pretty much does a happy dance over whatever breakfast food I make but nothing comes close to PANCAKES.


Everyone knows how to make pancakes, right?  Flour, some kind of sweetener (sugar, honey, etc), leavening ingredients, wet ingredients, yadda, yadda, yadda.  Some days I think I have a bottomless pit of pancake recipes that I like to try out or play with, however when it comes to buttermilk pancakes, there is only one recipe I go to.  It is so beloved in fact that I have to double the recipe to feed the three of us.  I'm not proud of that fact, but there it is.  Yeah....


2 cups all-purpose flour
4 tbsp sugar
2 tsp baking powder
1 tsp baking soda
1/2 tsp salt
2 cups buttermilk
2 large eggs
2 tsp canola oil

1. In a large bowl, whisk together the flour, sugar, baking powder, baking soda, and salt.  Make a well in the middle and set aside.

2. In a medium bowl, combine the buttermilk, eggs, and oil.  Pour the wet ingredients into the flour mixture.  Whisk to combine (be careful not to over mix; lumps are not the end of the world).


3. Preheat a griddle over medium heat.  If you want that extra-crispy, omg-this-is-like-crack texture around the edges, I suggest greasing the griddle with a little canola oil or butter in between each batch of pancakes.  If that crispiness isn't something you go for, then spray the pan with a little cooking spray to make sure they don't stick.

4. Using a 1/4 cup measure, scoop the batter onto the griddle, flipping after bubbles form and the edges look cooked.  Keep cooked pancakes warm in either a 200 F oven OR on a plate covered in foil.


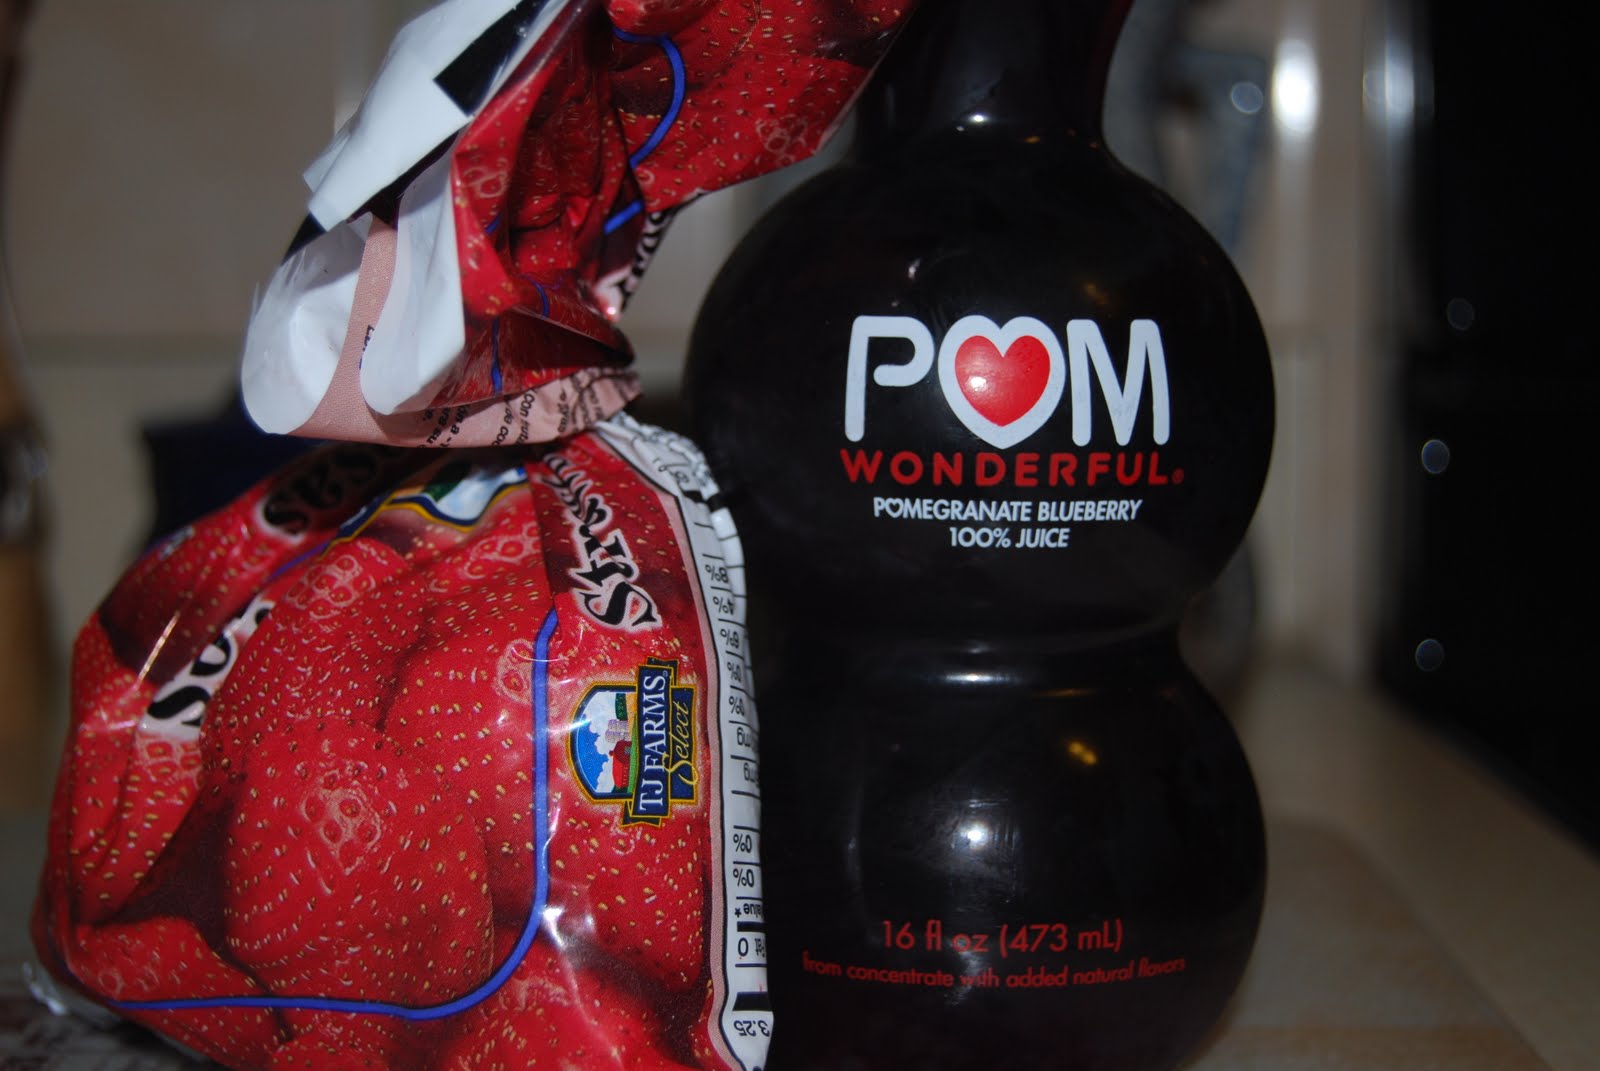
These are really good but this is a pretty basic recipe.  Right?  Right.  So I was feeling adventurous and wanted something to jazz up the pancakes a little bit.  Well, at the store the other day I discovered pomegranate juice on sale (Omg that NEVER HAPPENS!!) and so picked up a couple bottles.  I also remembered a cooking show I saw a while back where someone made a pomegranate syrup simply by boiling pomegranate juice until it had reduced and thickened.  Dude, I can totally do that!  And oh look, wouldn't you know that the juice I got is blueberry pomegranate AND I happen to have some strawberries in the freezer that I have GOT to use up.  Winner!


Berry Pomegranate Syrup
1 bottle blueberry pomegranate juice
1/2 bag frozen strawberries (thaw them if you have time and want to, otherwise don't worry about it)


1. Pour strawberries and juice into a small saucepan.  Cover and bring to a boil over medium-high heat.

2. Once it boils, remove the lid, reduce the heat a bit so it doesn't boil over and continue to let this bubble away until it's reduced by at least half.  Head's up: this could take a while so I'd allot at least 30 minutes for this.  Start the syrup before you start the pancakes.


3. Generously ladle over hot pancakes.  Gloat over the fact that your child gleefully prefers this over bottled pancake syrup that you know contains corn syrup, butter flavoring, and God knows what else.
Pin It

Monday, February 14, 2011

The Way to a Man's Heart...

The other day I asked my husband what he would like for Valentine's Day.  Like most men I know, he's really hard to shop for.  I mean really.  So I thought I'd just ask him what he'd like to get.  And what does my wonderful hubby tell me?  Nothing.  No, literally I mean he doesn't want anything.  Well now how fair is that??  I cannot, in good wife conscience, allow him to let me not get him anything!  That's just wrong.


I may not have clue as to what to buy for him, but I can cook him a really good dinner.  In the past, I've tried to make fancy, oo-la-la seafood-type Valentine's Day dinners.  They usually turned out ok.  However I married a truly Committed Carnivore.  This time, I want to make something that would really go to my man's heart.

Marinated Flank Steak with Blue Cheese Sauce
Recipe adapted from So Easy

3 tbsp olive oil, divided
1 tbsp balsamic vinegar
1 tsp brown sugar
2 cloves garlic, minced
1 1/4 lbs flank steak
Cooking spray
1 medium onion, cut into 1/4-inch think rounds
Salt and pepper
3 tbsp crumbled blue cheese
3 tbsp lowfat buttermilk
Dash of Worcestershire sauce

1. In a small bowl, whisk together 2 tbsp of the olive oil, the balsamic vinegar, brown sugar, and garlic.  Put the steak into a resealable plastic bag with the marinade and put in the fridge for at least 1 hour and up to 8 hours.  Allow the meat to come to room temperature before cooking.  Pat meat dry before cooking.

2.  Preheat broiler.  Brush both sides of the onion slices with the remaining tbsp of oil and season with salt and pepper.  Broil until they are softened, about 6 minutes per side.  Separate into rings and set aside.


3. Remove the meat from the marinade and season both sides with salt and pepper.  Discard the marinade.  Broil for about 5 minutes per side for medium rare.  Let rest for 5 to 10 minutes before slicing thinly on the bias.


4. In a small, combine the blue cheese and buttermilk with a fork, mashing until creamy.  Stir in the Worcestershire sauce.


5. Serve steak with the onions and drizzle with blue cheese sauce.

When I first read this recipe, I thought for sure it was a weekend-only kind of recipe.  Then I read it more closely and saw it was totally doable for after work.  The marinade takes literally two minutes to assemble and pour over the steak.  The meat takes 10 minutes to cook, with another 10 to rest.  Throw in a bagged salad and some crispy rolls?  Weeknight Valentine's Day dinner in under 30 minutes!

So now I have a happy hubby with a happy tummy, and that makes this wife very, very happy indeed. :)
Pin It