
My internal debate was over the assembly. Rolling out pie crust and smushing into TINY muffin cups can get a little frazzling, especially at the end of a long day when you're tired and hungry. But I realized that the good about these cuties FAR outweighs my Friday night annoyance over pie crust.
Mini Chicken & Broccoli Pot Pies
Recipe slightly adapted from Giada De Laurentiis
2 tbsp butter
2 tbsp all-purpose flour
3/4 cup milk
1 tsp kosher salt
1/4 tsp freshly ground black pepper
1/4 cup grated Parmesan
1 small cooked chicken breast, chopped into 1/4-inch pieces (about 3/4 cup meat)
1 cup broccoli florets, cut into 1/4 to 1/2-inch pieces, steamed in the microwave (about 2 ounces)
All-purpose flour, for dusting
Two 10-inch round unfold-and-bake frozen pie crusts, thawed
1 large egg
1. Place an oven rack in the center of the oven. Preheat the oven to 400 degrees F. Spray a 24-count mini-muffin pan with vegetable oil cooking spray. Set aside.
2. Melt the butter in a 1-quart saucepan over medium-low heat. Add the flour and whisk until smooth, 1 to 2 minutes. Gradually add the milk, whisking constantly to prevent lumps. Simmer over medium-low heat, whisking constantly, until the sauce is thick and smooth, about 4-6 minutes. Remove the pan from the heat and stir in the salt, pepper, Parmesan, chicken, and broccoli.
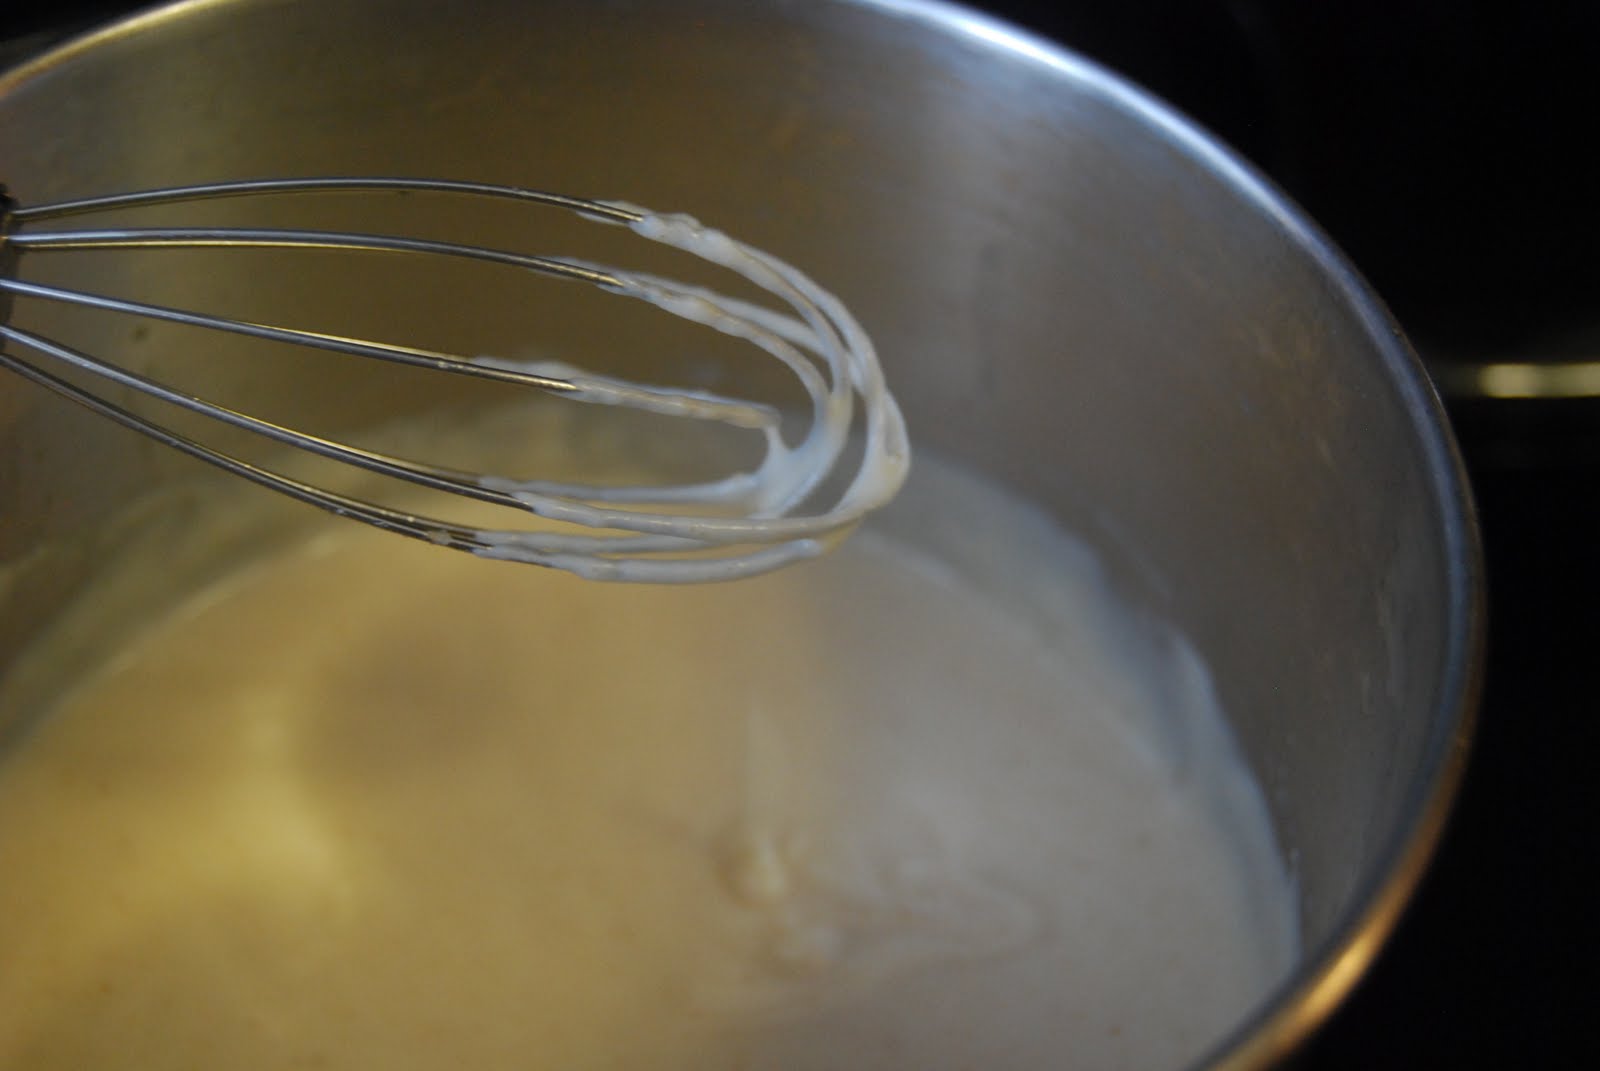 |
| Thick, but not too thick |
 |
| I could just eat the filling as is. |
3. On a lightly-floured work surface, roll out the dough 1/8-inch thick. Using the 3-inch round cookie cutter, cut out 24 pieces of dough. Combine the dough scraps and reroll as necessary. Press the large rounds of dough into the bottom of the prepared pan, making sure the edges hang over the top of each cup. Using a cookie scoop OR a tablespoon, spoon the sauce into the pastry. Fold the edges of the dough up and around the filling.
 |
| Don't have a round cutter? Use a drinking glass. |
4. Combine the egg and a small splash of water in a small bowl, using a fork. Brush the edges of the pastry with the egg mixture. Bake until the edges are golden and the filling is bubbling, 17-20 minutes. Cool for 10 minutes and serve.
 |
| I was inspired by The Pioneer Woman and went for the "rustic look" |
Kieran was actually a major force in changing my mind about these. Because I also made pizza puffs and popcorn for our Movie Night, there was plenty of food leftover. That means I've had even more cute, nutritious little lunch options this week for my growing baby boy. And MAN he inhales these!
So I will be making these again. But next time I'll assemble them ahead of time, when I'm more alert and have more energy, then bake them off in the evening while the family gathers to relax. Sounds like a plan to me!

ok, so how about rolling little balls putting them in the pan and burrowing in with your thumb to make a pocket and push the dough to, up and over the sides? Just an idea. I remember something like that with some wooden balled pampered chef tool that you could also use but a thumb is free!
ReplyDeleteOoo... good idea! Totally trying that next time. Thanks!
ReplyDelete