Showing posts with label neufchatel. Show all posts

Monday, January 7, 2013

Cranberry Orange Cheese Spread

This is one of those kinds of spreads that people just can't get enough of.  It's sweet, but not Too Sweet.  It's festive, but not Too Festive.  And it makes a perfect appetizer without being Only An Appetizer.


Cranberry Orange Cheese Spread
Recipe slightly adapted from a Keebler cracker ad
Prep time:10 minutes   Chill time: at least 1 hour

1 (8oz) brick of neufchatel OR regular cream cheese, softened
Zest of 1 orange
Juice of half an orange
1 tbsp sugar
1/8 tsp cinnamon
1/4 cup finely chopped dried cranberries
1/4 cup finely chopped pecans (optional)

1.  In small mixing bowl beat neufchatel, orange zest & juice, sugar, and cinnamon on medium speed until fluffy. 
Sometimes I forget and add the cranberries too early.  Oh well, it doesn't hurt!


2.  Stir in cranberries and pecans.   At this point you could shape it however you like, using cling wrap: a ball, a log, or leave it in a bowl to scoop out.  Refrigerate at least 1 hour before serving. 
I chose the cheese ball route: line a small bowl with plastic wrap.

Fill the lined bowl with the cheese...

...and smooth out the filling.

Fold the excess wrap over the top and chill

When firm, unfold the excess and pull the ball out of the bowl.

Invert the ball over the serving dish and peel back the plastic wrap.


I love the versatility of this spread!  It's absolutely addicting as a party appetizer.  I've lost count now how many times I've given out this recipe actually.  But my favorite use for this spread is with the leftovers.  I ADORE this on English muffins or bagels in the morning.  And lately I've been struggling with new ideas for my toddler's breakfast.  I found these cute little whole grain mini-pita pockets at Trader Joe's a while back and decided to tuck spoonfuls of the cheese inside.  He inhaled them!  

I think I'll have to make another batch of this spread this week just for my family to enjoy.  Yes, it's that good!
Pin It

Wednesday, December 14, 2011

Hot Spinach-Artichoke Dip

Spinach-artichoke dip is one of those things where it sounds like it really should be good for you, but ohmygraciousareyouKIDDINGme it's not.  It's a gloriously rich, decadent appetizer that I typically stare at longingly on a restaurant menu before dramatically sighing and selecting something that won't have my stomach, or my thighs, launching a mutiny.

And then I discovered this fabulous recipe.  Bring on the pita chips because this girl is eating as much as she wants!!

Hot Spinach-Artichoke Dip
Recipe adapted from Food Network Magazine

1 box frozen, chopped spinach, thawed and squeezed dry
1 tsp dried basil
3/4 cup canned white beans, drained and rinsed
6 ounces Neufchatel cream cheese
1 clove garlic, smashed
1/2 cup low-sodium chicken broth
1 14-ounce can artichoke hearts, drained, squeezed dry and finely chopped
1/4 cup grated parmesan cheese
3/4 cup shredded low-fat mozzarella cheese, divided
Pinch of cayenne pepper
2 or 3 dashes Worcestershire sauce
Kosher salt and freshly ground black pepper

1.  Preheat the oven to 450.
The secret ingredient that helps lighten this dish.


2.  Puree the beans, cream cheese, garlic and chicken broth in a food processor until smooth, scraping the sides as needed. Transfer to a medium bowl and fold in the spinach, basil, artichokes, parmesan and 1/2 cup mozzarella. Add the cayenne, Worcestershire sauce, 1/2 teaspoon salt, and black pepper to taste.
I like a good amount of seasoning


3.  Mist a deep 1-quart casserole dish with cooking spray. Spread the dip mixture in the dish and top with the remaining 1/4 cup mozzarella. Bake until golden and bubbly, 20 to 25 minutes. Serve warm with baked chips.
Can you resist melty, cheesy goodness?  Because I can't.


Pin It

Friday, April 1, 2011

Carrot Cupcakes

I'm still working out some final issues regarding pictures, so I don't have the Lemon Pasta with Shrimp recipe quite ready to go.  I'm sorry.  Forgive me please?  How about I distract you with cupcakes... would that be ok?

Distracted yet?

Normally I am about the biggest fan of the boxed cake mix that you can find.  I have tried on numerous occasions to make a cake a scratch.  Don't get me wrong, the cake always turns out fine....however I don't think it's any better than what I get from whipping up a boxed version, so why expend the extra time, money, energy, and ingredients on a from-scratch version?  Much as I adore baking, even I don't see the logic in that.

These carrot cupcakes though....oh my.  They. Are. DELICIOUS!!  They turn out so moist and yummy and wonderful with just that hint of spice.  I will go out on a limb and say the cake is even better than a box mix, and certainly not any more difficult to put together.  Bonus!!

And then can we talk about the frosting?  Yes, let's talk frosting.  Unless you're talking cream cheese or that caramelly deliciousness that tops a German chocolate cake, I don't really do frosting that much.  I'm sorry if that offends but I'm just not a frosting person.  Being carrot cake though, these demand a cream cheese frosting so I get extra excited about carrot cake in general.  But why stop at ordinary cream cheese frosting?  Let's step this up and add a lemony kick to it!  W.O.W.  The balance of the sweet tart frosting with the moist, rich, spicy cake is just out of this world.

Is it any wonder I made these for my mom's birthday?  She is TOTALLY WORTH IT!!

Carrot Cupcakes with Lemon Cream Cheese Frosting
Recipe from Ellie Krieger, The Food You Crave
For the cupcakes:
3/4 cup whole wheat flour
1/2 cup all-purpose flour
1 teaspoon baking soda
1/4 teaspoon salt
1/2 teaspoon ground cinnamon
1/4 teaspoon ground nutmeg
1/4 cup canola oil
3/4 cup firmly packed brown sugar
2 large eggs
1/2 cup unsweetened applesauce
1/2 teaspoon vanilla extract
1 1/2 cups finely shredded carrots [Note: do NOT get the pre-"shredded" stuff from the grocery store; shred these yourself.  Those bagged "shreds" are more like matchsticks so unless you like carrot crunch in your cake, shred your own carrots.  Trust me on this one.]
1/4 cup finely chopped walnuts, or thereabouts ;)
For the frosting:
4 ounces Neufchâtel cheese (reduced-fat cream cheese), softened
3/4 cup confectioners’ sugar
1/2 teaspoon finely grated lemon zest

1.  Preheat the oven to 350°F. Line 12 muffin cups with paper liners. In a medium bowl, sift together both flours, the baking soda, salt, and spices. 
Yay for spices!!
2.  In a large bowl, whisk together the oil, brown sugar, and eggs until well combined. Whisk in the applesauce, vanilla, and carrots. 

 I am absolutely in love with that gorgeous orange color.
3.  Add the dry ingredients and mix until just combined. Stir in the walnuts. 
Walnuts are my favorite.  I buy them in bulk.

4.  Divide the batter between the muffin cups; I find the best way to do this is with an ice cream scoop. Bake until a toothpick comes out clean, about 20 minutes. Transfer to a wire rack to cool completely.
Mmmmmmmmm cake batter...
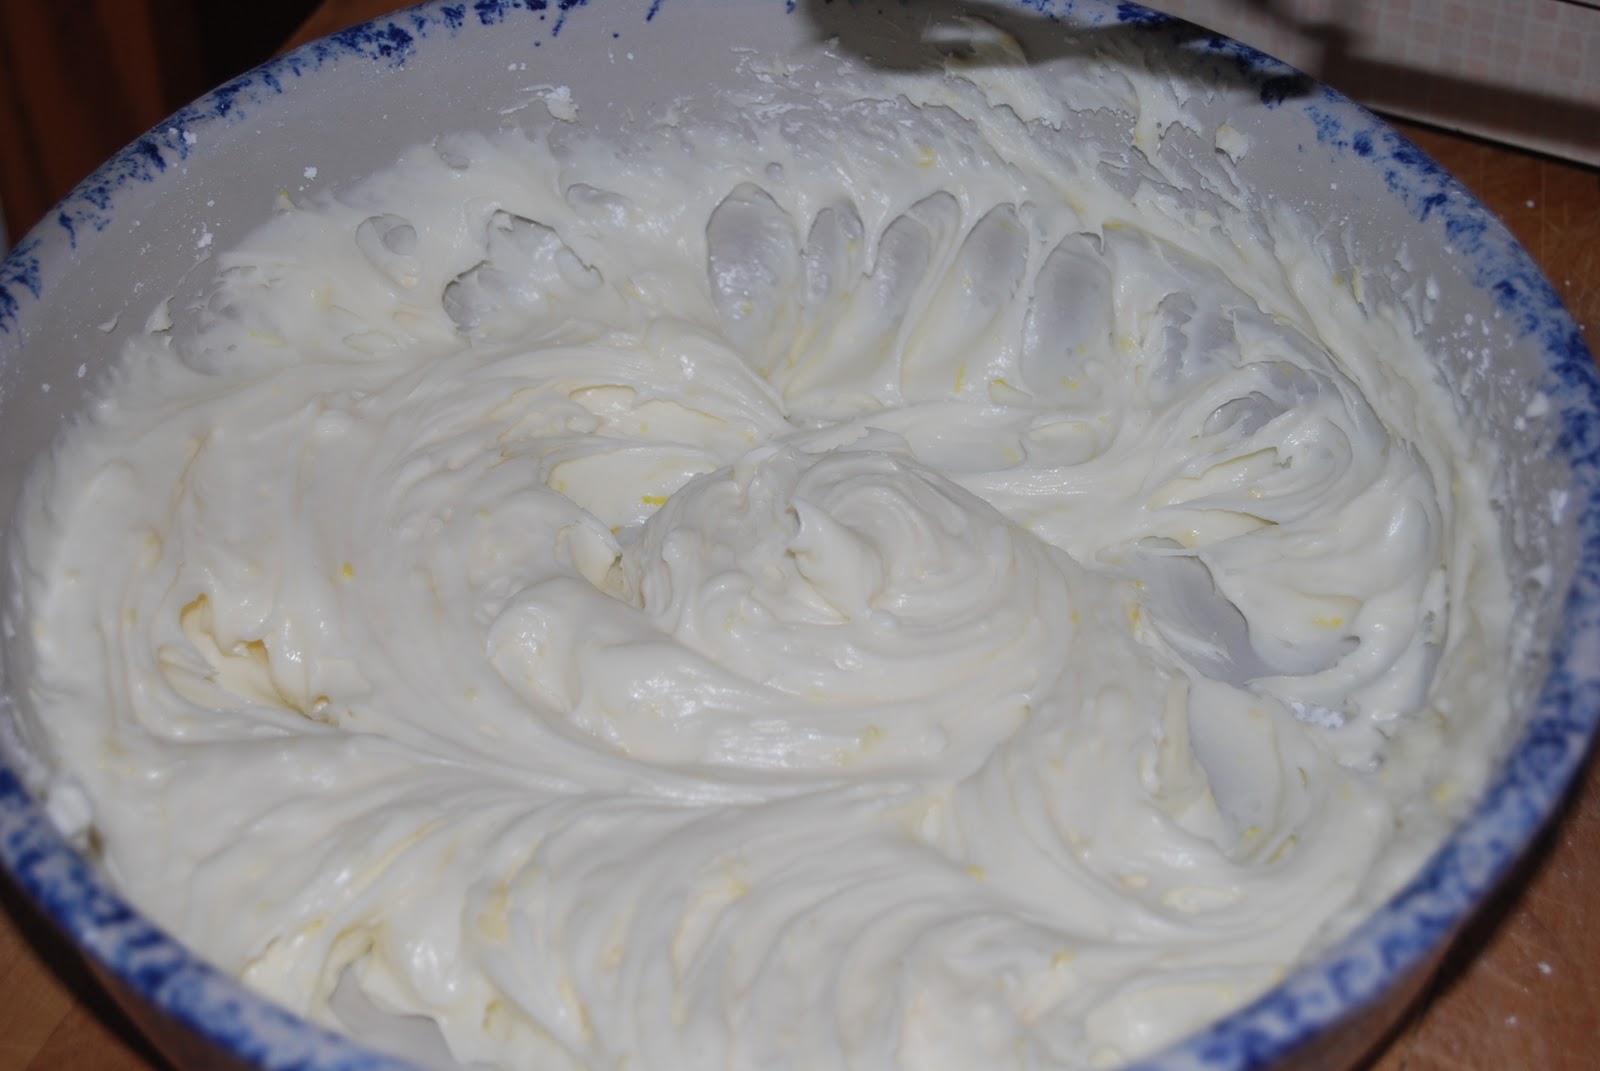
5.  To make the frosting, with an electric mixer, beat together the cream cheese, confectioners’ sugar, and lemon zest until smooth and creamy. Frost the cooled cupcakes and sprinkle with the walnuts. The cupcakes should be stored in the refrigerator, where they will keep for about 3 days.
Fluffy, pillowy clouds of sweet tartness.  YUMMM!
I think these cupcakes are the cat's meow.  But.  I have one teensy tiny issue with it.  Between the batter and frosting, it makes EXACTLY enough for 12 cupcakes.  So be careful not to overfill the muffin tin.  And when you're frosting, maybe frost a little conservatively.  The flavor is powerful enough that you don't really need a lot of frosting, however if you are a frosting person you will want to double the frosting recipe.  Use any leftover frosting on pancakes. ;)  Or as a fruit dip.  THAT would be tasty.
Pin It

Wednesday, March 30, 2011

Chicken Azteca

I haven't been doing this whole blog thing very long but I already like you guys.  Does that make me weird?  Well, if it does I'm ok with that.  But what's not to like about a group of people who find food fascinating?!  And because I like you, I'll go ahead and share a slow cooker recipe that I think EVERY busy cook should have, especially the busy cook who likes to entertain a crowd of people on occasion.

This is one of those recipes in my life that had I known one little piece of information, I never would have made it.  My parents were visiting for the weekend and helping with some things around the house.  I really wanted a dinner recipe that would make a lot, preferably in a slow cooker since we were all busy with various chores and projects.  This one had caught my eye from one of my mom's cookbooks so I wanted to try it.  Little did I know that not only does my dad not care much for Mexican flavors, but he also doesn't like cream cheese very much.

Thank goodness for ignorance!  Not only did my dad eat and LIKE this recipe (wahoo!!) but it's become a huge favorite of mine and Rob's.
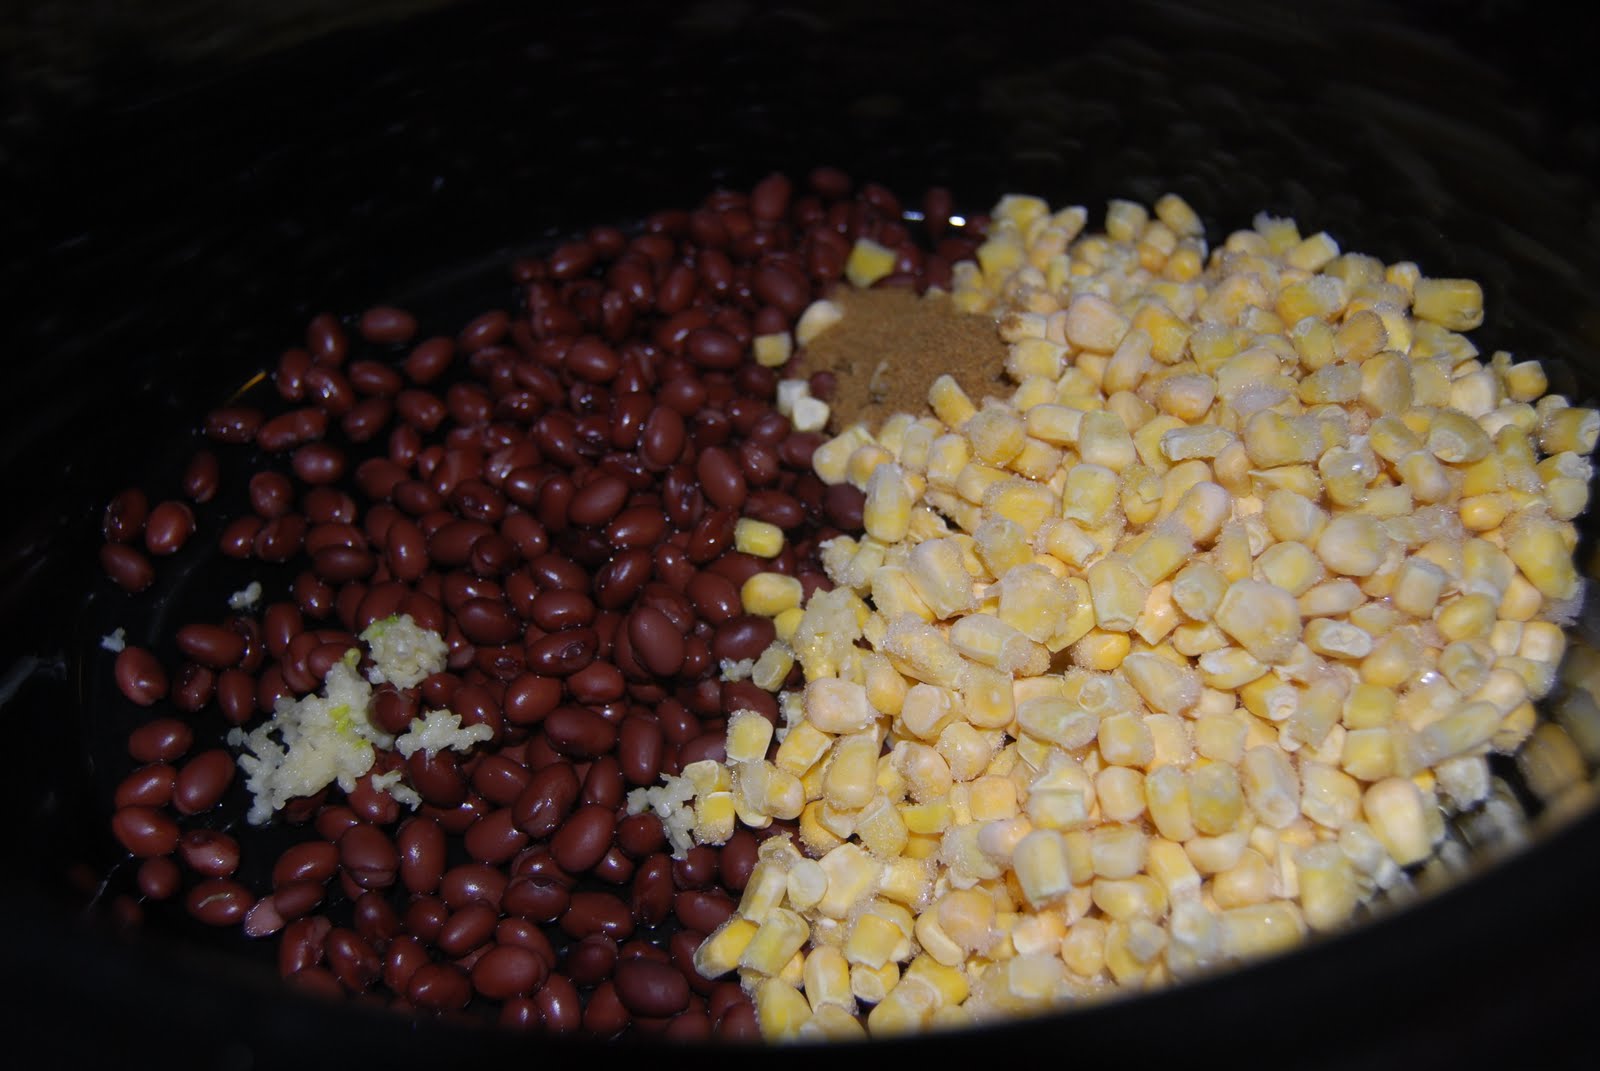
Dark beans meets sunny yellow corn.  Contrast is just so much fun!

Chicken Azteca
Recipe adapted from Fix It and Forget It for Entertaining

1 can black beans, drained & rinsed
2 cups frozen corn kernals
1-2 cloves garlic, minced
3/4 tsp cumin
1 (16 oz) jar of salsa, divided
5 boneless, skinless chicken breasts
1 (8oz) brick of cream cheese


1.  In a slow cooker, combine beans, corn, garlic, cumin and half of the salsa.
Doesn't this just scream FESTIVE?


2.  Lay the chicken breasts on top of the bean/corn mixture.  Pour on remaining salsa.
I love combining chicken and salsa together

3.  Cover and cook on HIGH for 2-3 hours or on LOW for 4-6 hours.

4.  Remove the cooked chicken and shred.  Add shredded chicken back to the slow cooker and stir to combine with the bean/corn/salsa mixture.

5.  Cube the cream cheese and add to slow cooker; stir.  Cover and let sit at WARM or LOW setting just until the cream cheese has melted (about 30 minutes).  Stir to make sure everything is well combined.

I like to eat this comforting concoction on top of hot rice and smothered with cheddar cheese.  Rob likes to use it as a burrito filling.  We both enjoy it as a fun twist on nachos also.  The best part is normally we would fight over the leftovers, however it makes soooooooooooooo much that there is plenty to go around.
*Drooooooooooooooooooooooooooooooooooooooooool*
Oh, and bonus preparation option?  Rob's taken this recipe camping too.  It comes together quite well in a Dutch oven and takes about 30 minutes to an hour to cook, depending on how hot the campfire is.  So for you crazy campers out there (God knows I am SO not one of you; sorry), give this a shot.
Pin It